
The complete guide
Choosing a Friendship Bracelet Making Kit That Kids Actually Finish
The craft kit problem
Walk down the craft aisle of any toy shop and you will see dozens of boxes promising hours of fun. Buy one, and the usual story follows. The child opens it, works for fifteen minutes, hits a snag, and the box goes on a shelf. A year later you throw out half a bag of beads and a tangle of thread.
The failure point is almost never enthusiasm. Kids genuinely want to make things. The failure is that the materials fight back. Loose thread slides. Knots pull uneven. A pattern that looked simple on the box turns out to need three hands. Once a child feels they are bad at it, the box is finished.
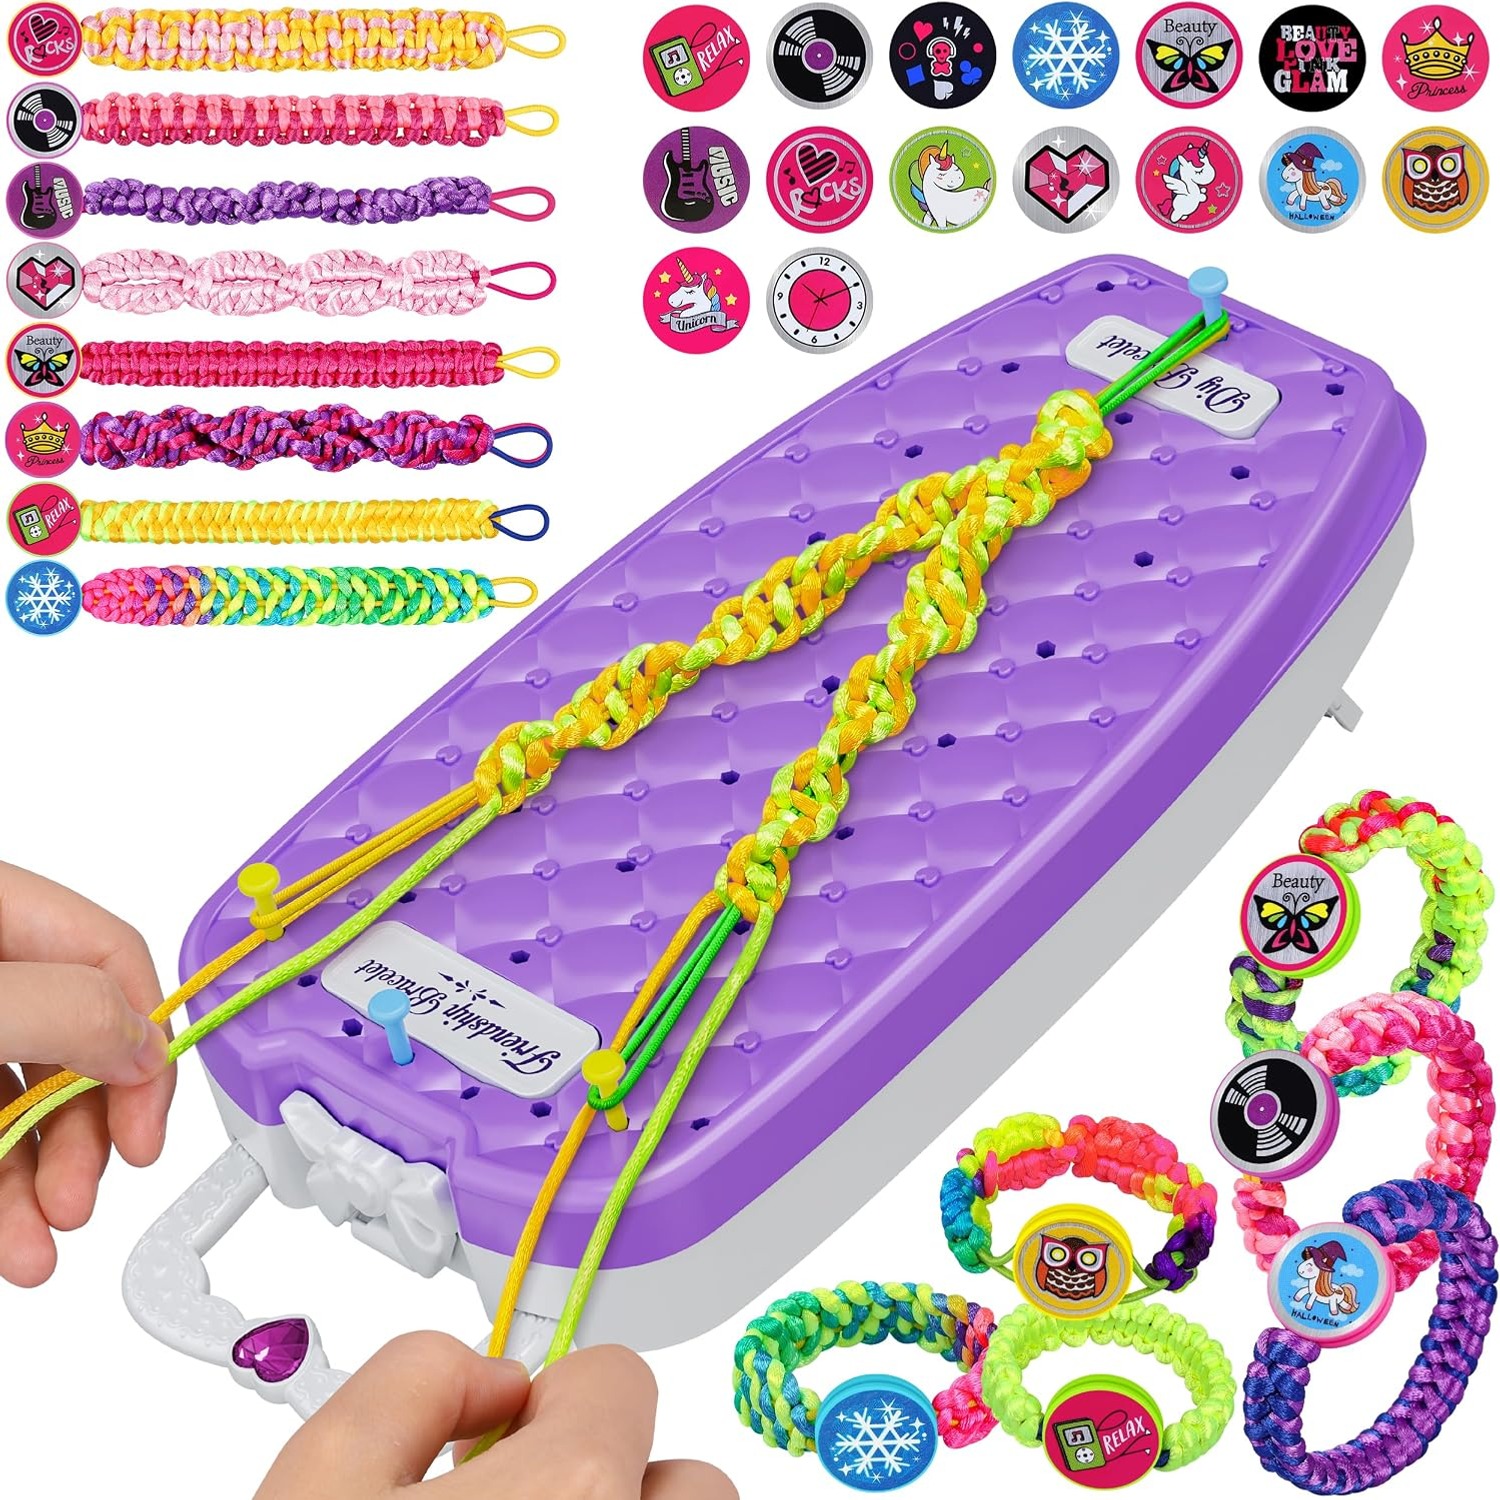
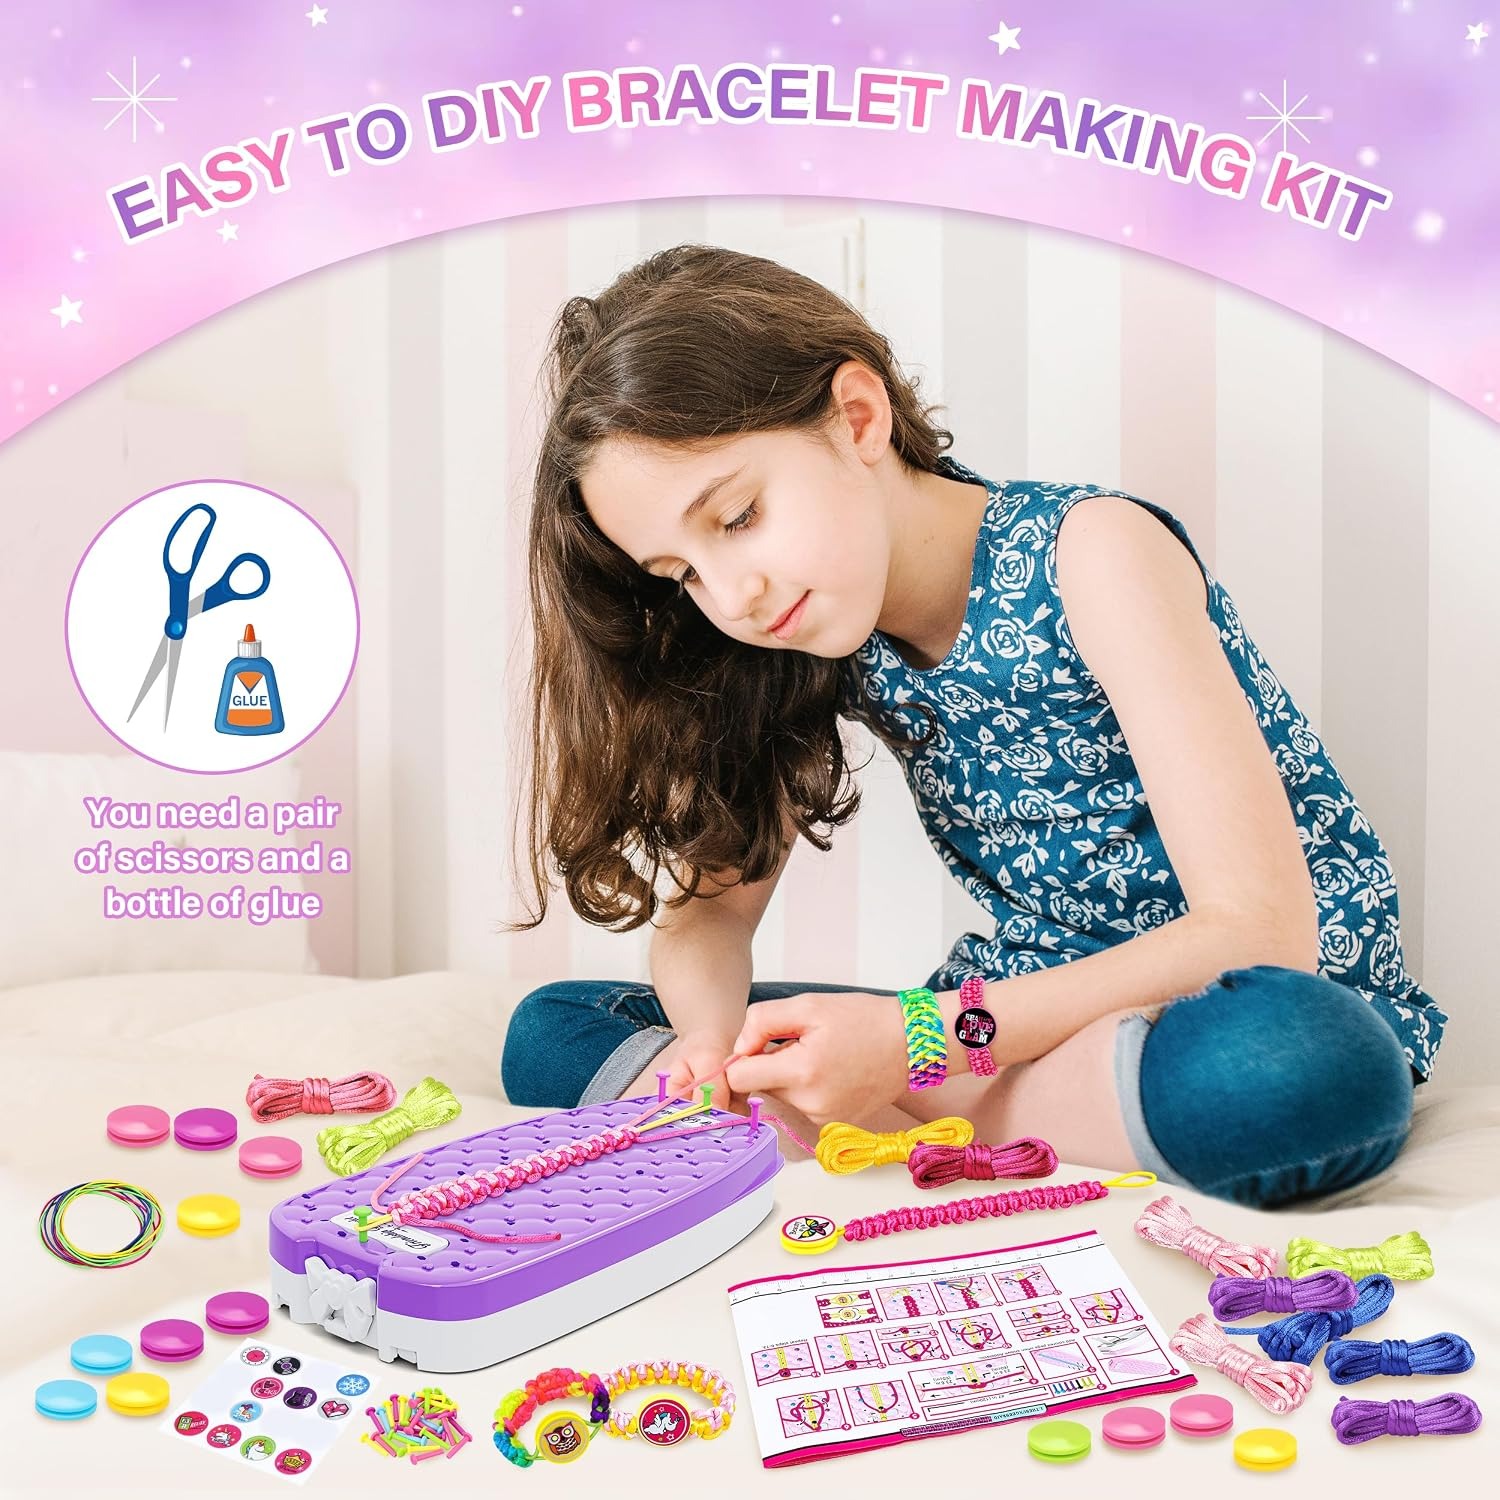
A friendship bracelet making kit built around a loom changes that calculation. Instead of holding the work with teeth, knees and a safety pin, the threads sit under light tension on a board with pegs. Hands are free to do the actual knotting. That one difference is the gap between a bracelet finished and a bracelet abandoned.
How a braiding loom works
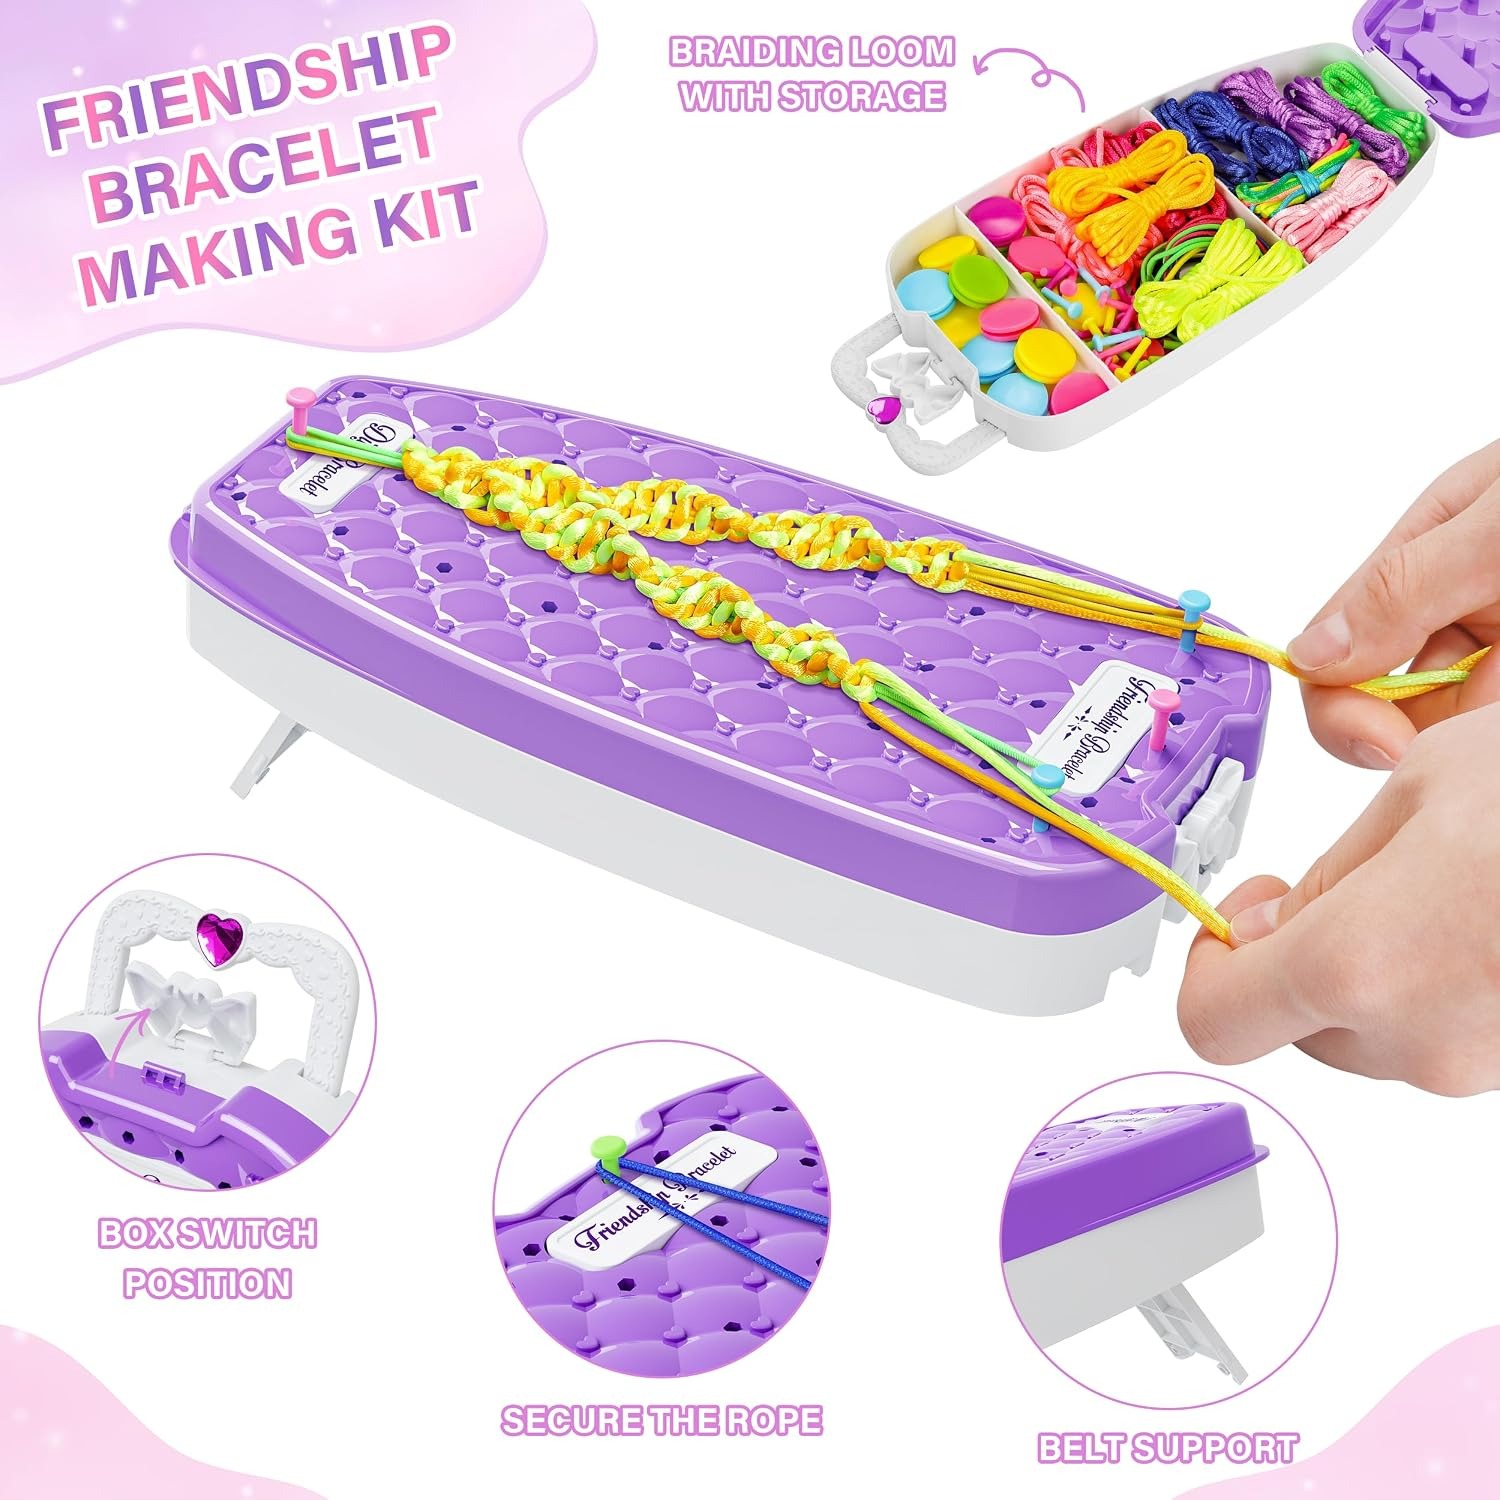
The idea is old and simple. You have a flat board with a set of small pegs around the edge. Thread is anchored at one point and run out to the pegs, which hold it steady while you work along the length.
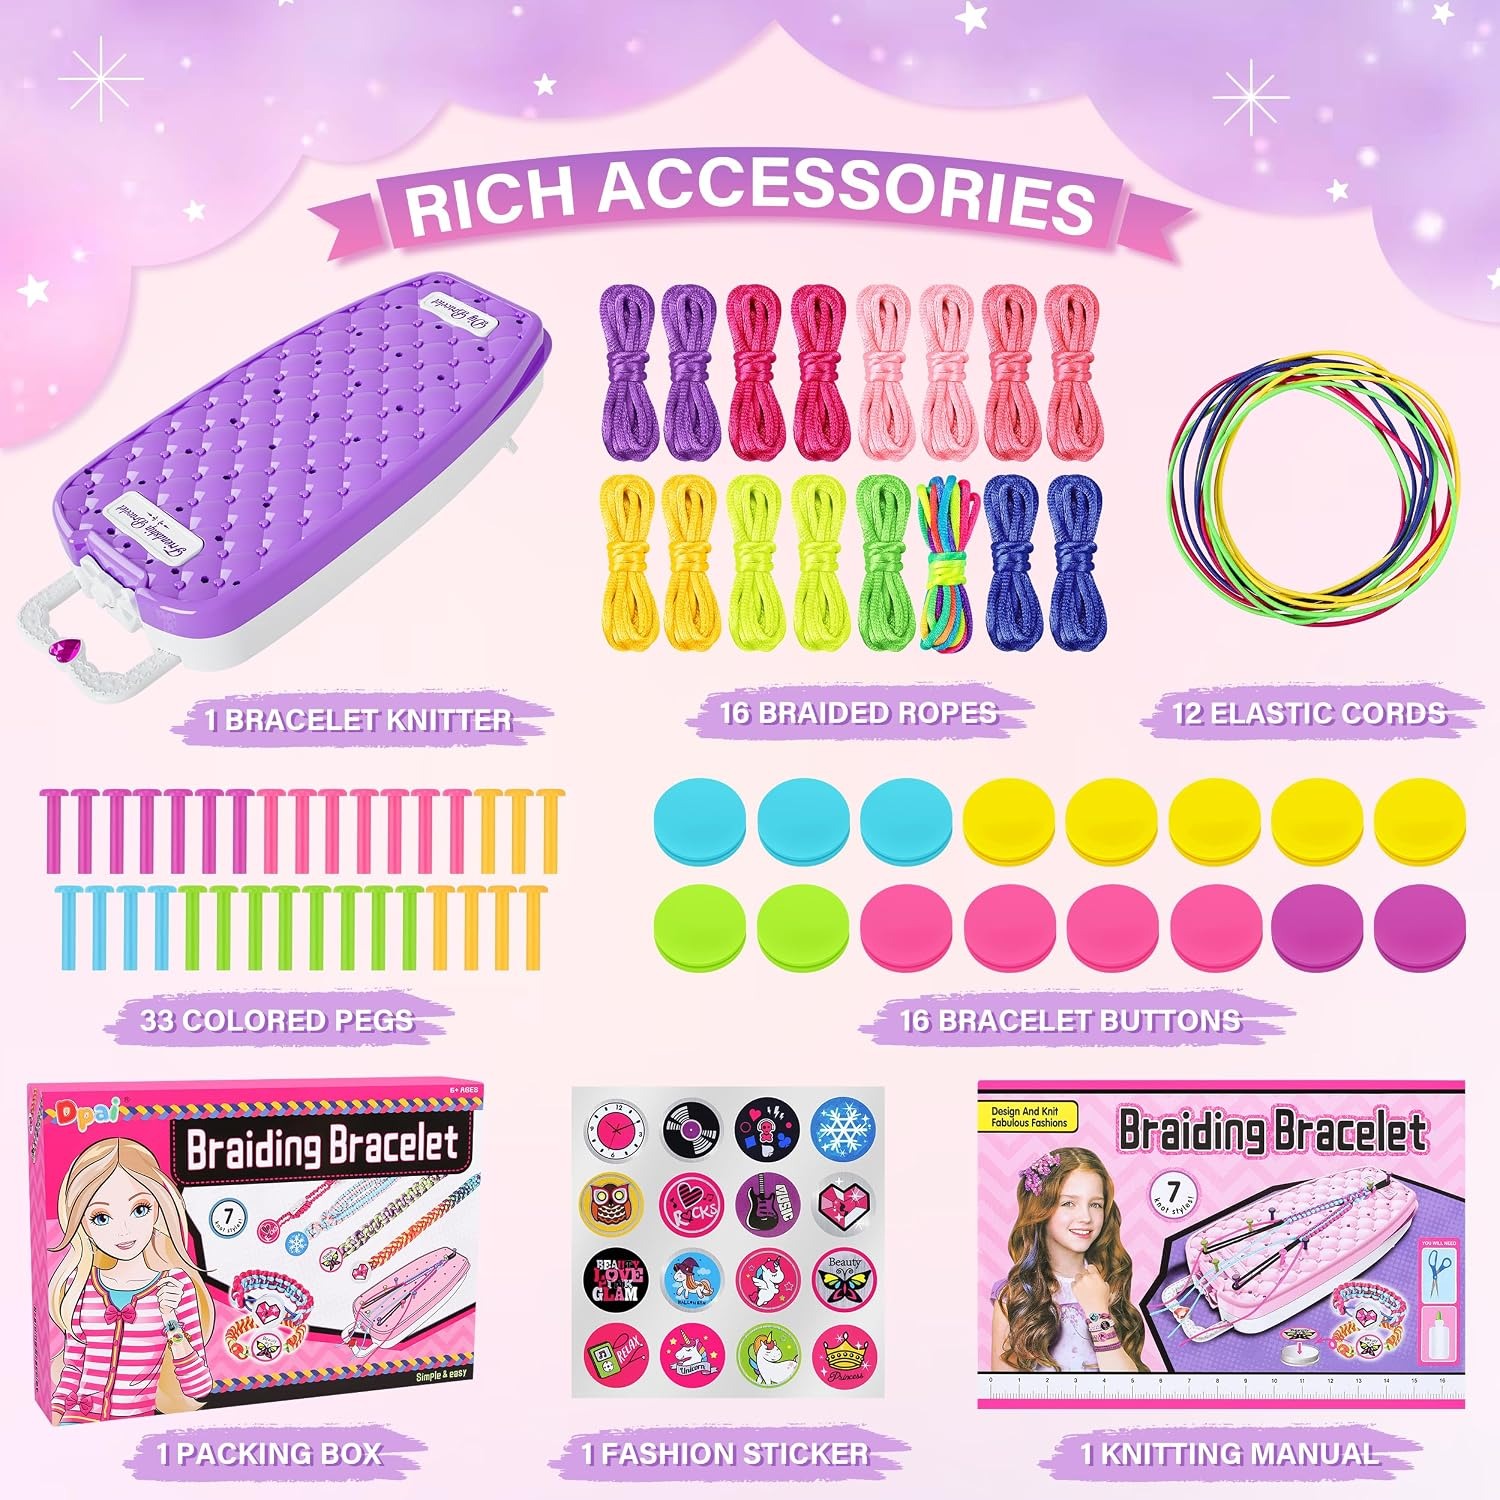
This kit comes with 33 movable pegs. Movable matters. A fixed-peg loom only makes one width of band. Being able to shift the pegs means you can set up a narrow four-strand band for a beginner or a wider patterned piece once confidence builds.
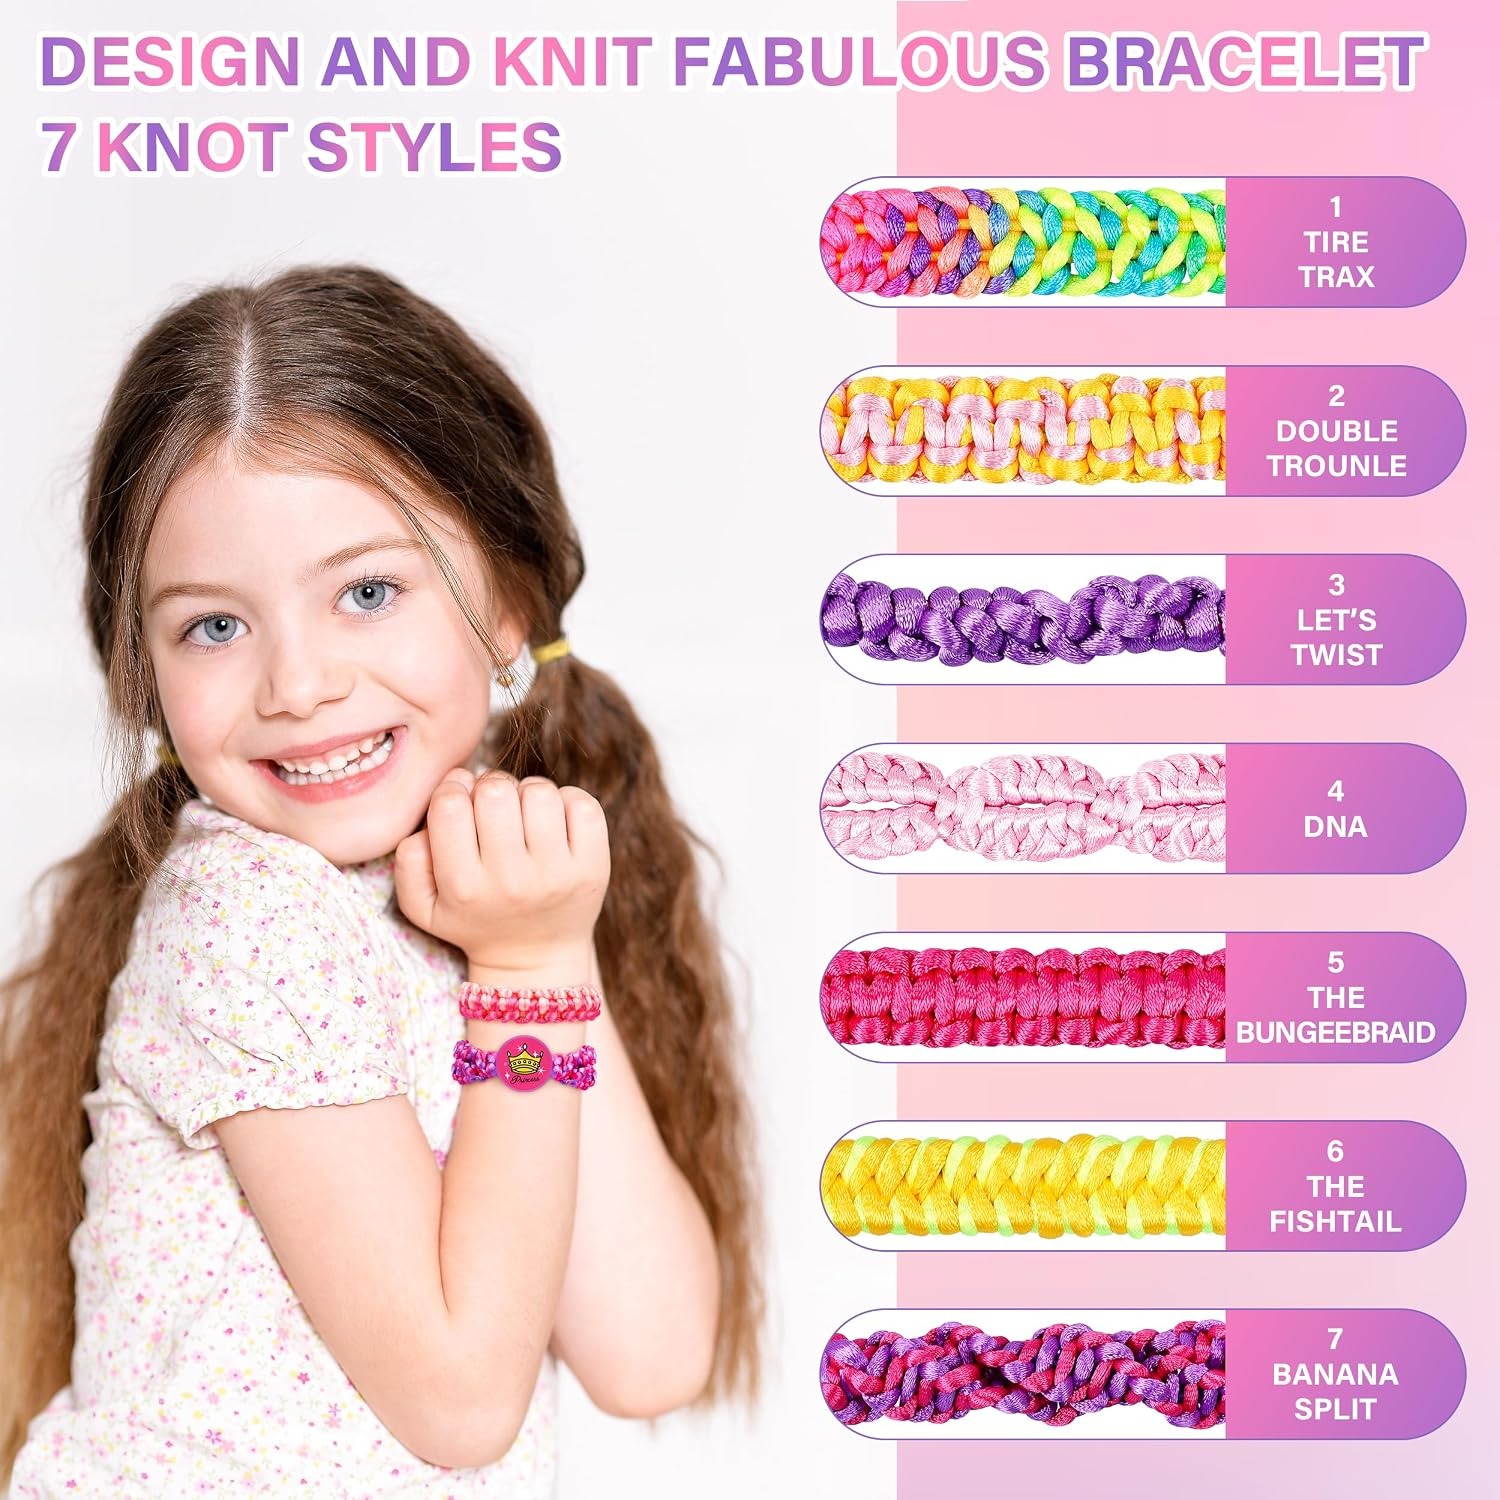
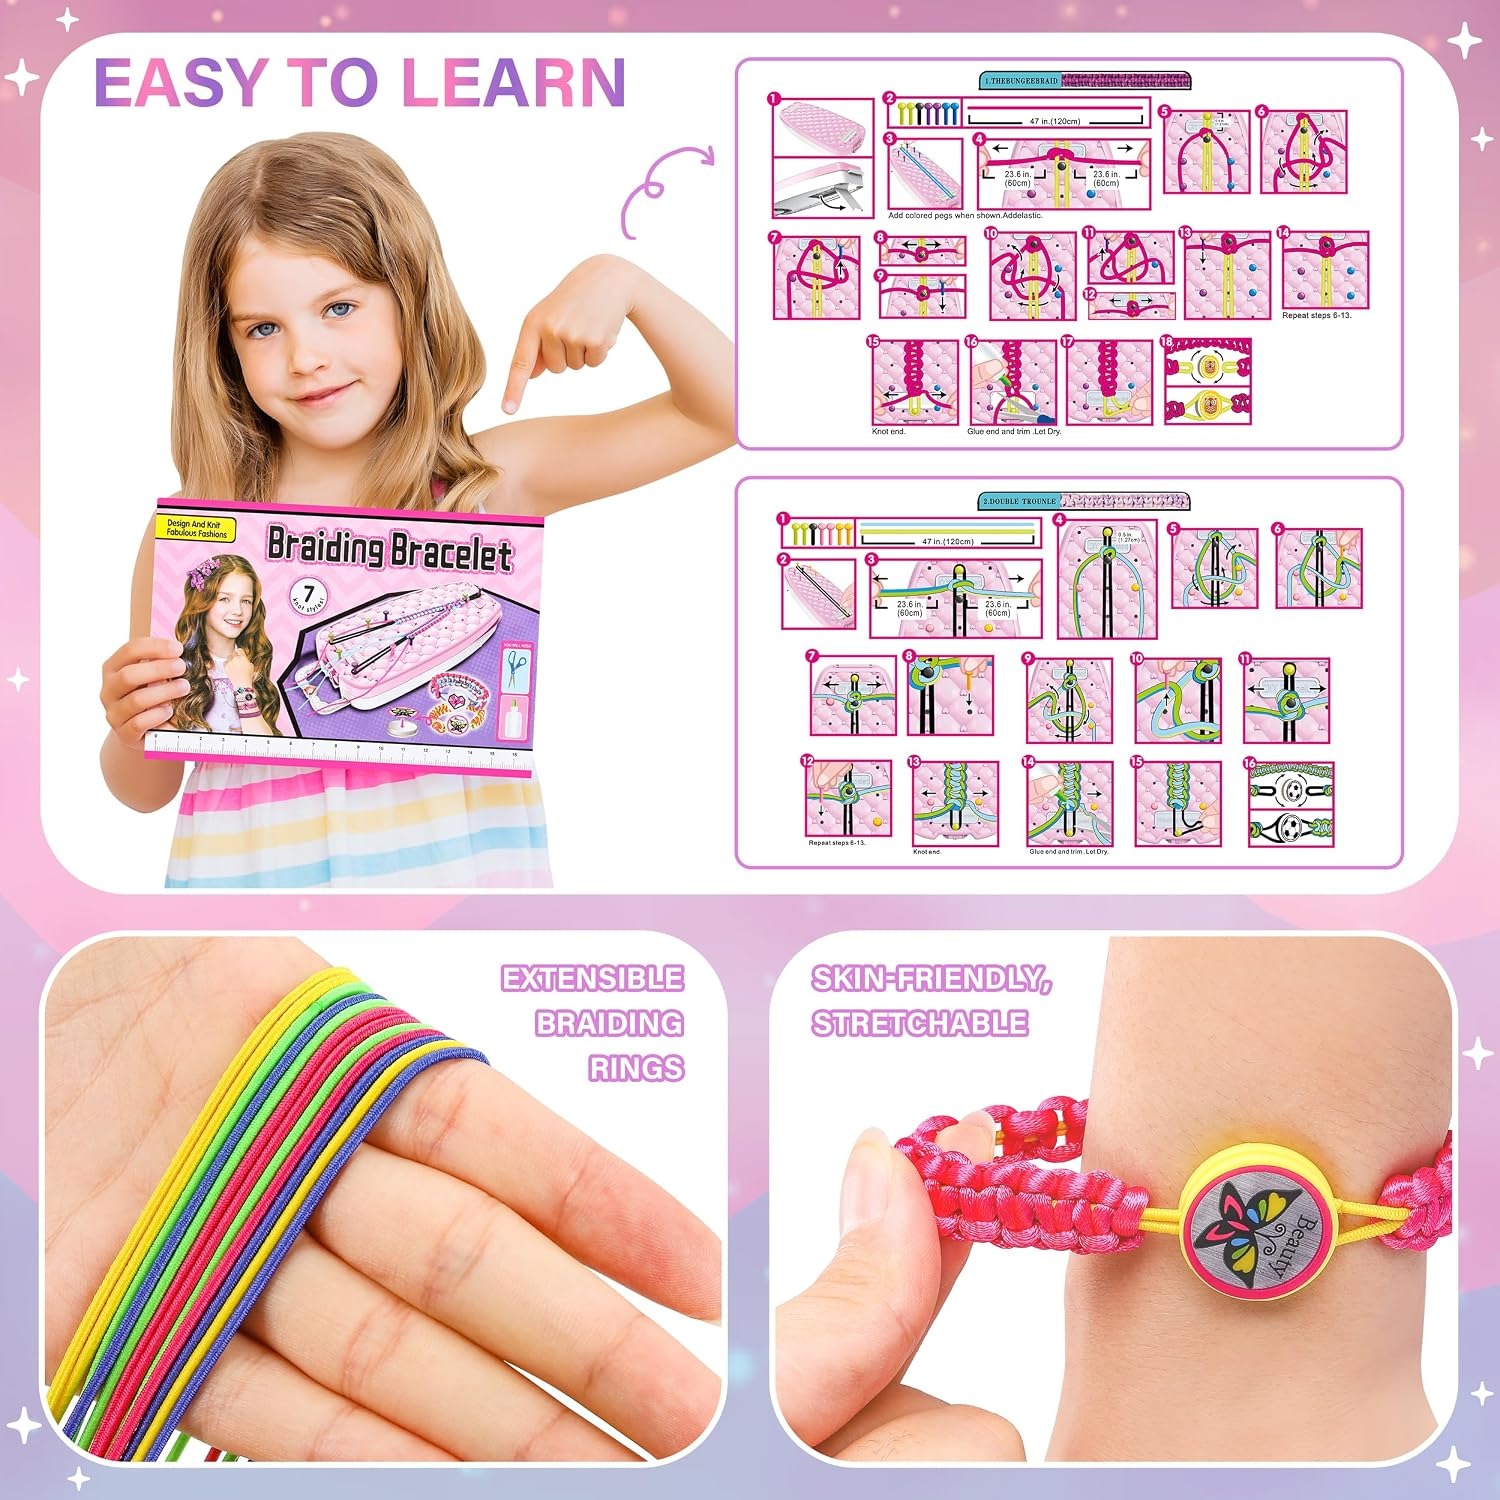
The instruction guide covers 7 knot styles. Think of them as a ladder. The first is a basic repeating knot that produces a solid colour stripe. Learn the direction and rhythm there and the next styles are the same hand movement in a different order. Chevrons, diagonal stripes and candy stripe patterns all come out of surprisingly small variations.
Most kids need an adult for the first setup. After that they tend to go it alone, and a lot of them start inventing patterns that are not in the guide at all. That is the point where a craft kit stops being a toy and starts being a hobby.
What is in the box and why each bit matters
The kit holds 1 braiding loom, 16 bracelet threads, 16 button buckles, 12 extendable braiding rings, 33 movable pegs, 16 pattern stickers and 1 step-by-step instruction guide.
The threads are nylon. That is worth knowing if you have used cheap cotton floss before. Cotton frays at the cut end, splits when you pull a knot tight, and goes fuzzy after a week of wear. Nylon takes a firm knot and keeps its edge. A bracelet made from it survives school, sport and a few hand washes.
The button buckles do the finishing. A tied knot against a child's wrist is fiddly to do up and worse to undo. A button closure is something a seven-year-old can manage alone, which means the bracelet gets worn rather than left on a bedside table.
The extendable rings handle sizing. Kids almost always want to make one for a parent or an older cousin, and adult wrists are bigger than the band they just made. Twelve rings cover a fair amount of gifting.
The stickers are decoration rather than function. Some children use them to label which thread colour goes where while they learn a pattern, which is a clever use nobody planned.
Who this suits
The stated age range is 6 to 12. In practice it sorts out roughly like this.
At six or seven, expect to sit alongside for the first couple of bracelets. The knot sequence needs explaining once, slowly, and then it clicks. Short sessions work better than one long one.
Between eight and ten is the sweet spot. Kids at that age have the patience for a forty-minute project and the pride to wear the result. This is also where the social side kicks in, since the whole appeal of a friendship bracelet is handing one over.
Eleven and up will usually finish the guide quickly and start looking for harder patterns online. The loom and pegs happily support that. You just need more thread, and standard craft thread from any shop fits.
Adults get use out of these too. More than one parent has quietly taken over the loom after the children went to bed.
Choosing between kit types
If you are comparing options, there are really four kinds of bracelet craft kit on the market.
Bead kits are the most common and the least durable. Beads scatter, elastic snaps, and the finished item lasts about a fortnight. They are fine for a very young child but frustrating past about age seven.
Plain thread bundles with no loom are the cheapest. They work, but only if someone already knows how to braid and has the patience to tape the end of the work to a table. They are better as a refill than as a starter.
Plastic loom-and-band kits make stretchy rubber bracelets. Fun, fast, and the results look like what they are. They do not teach much that carries over.
A thread loom kit like this one sits in the middle on price and at the top on longevity. The skill transfers. A child who learns seven knots here can make a bracelet for the rest of their life with nothing but thread and a safety pin.
Getting the most out of it
Set up on a table rather than a lap. The loom is small and portable, which is great for a car trip, but a flat stable surface makes the first attempts much easier.
Cut generously. A common beginner mistake is cutting thread too short, running out halfway, and having to splice. Measure about four times the finished length per strand and you will rarely be caught out.
Keep a plastic tub or a zip bag for the pegs and buckles. They are small, and small parts find carpet. Everything goes back in the box at the end of a session.
Work in daylight or under a decent lamp. Dark thread colours against a dark loom are hard to track, and squinting makes mistakes.
Save the first attempt. It will be crooked. It is also the one the child will look back at in a year and see how far they have come.
Care and storage
The loom needs almost nothing. Wipe it with a slightly damp cloth if it gets sticky from hands, then dry it fully before putting it away. Store it flat so the pegs do not bend.
Finished bracelets wash by hand in cool water with a little mild soap. Rinse, squeeze gently in a towel, and air dry away from direct heat. Skip the washing machine. Skip the tumble dryer. Nylon will survive both but the knots loosen over time.
Chlorine is the main enemy. A pool day will not destroy a band, but months of daily swimming will dull the colours. Taking it off before swimming adds months to its life.
Keep the whole kit away from children under three. The pegs, buckles and rings are small parts.
The short version
This is a boxed friendship bracelet making kit for ages 6 to 12, built around a portable braiding loom with 33 movable pegs. You get 16 nylon threads, 16 button buckles, 12 extendable rings, 16 pattern stickers and a guide covering 7 knot styles.
The loom is the reason it works. It holds the thread so the child can concentrate on the knots, which means bracelets get finished rather than abandoned. Nylon thread keeps the results looking good for months.
It arrives in a purple box ready to give, weighs 0.26 kg, and suits birthdays, Christmas, long journeys and quiet afternoons at home. If it turns out not to be right, get in touch and we will sort it.