


The complete guide
Take Apart Dinosaur Toys, A Buyer's Guide for Parents
The problem with most dinosaur toys
A moulded dinosaur figure gets about ten minutes. It gets carried around, it roars at the cat, and then it ends up under the sofa with the rest. There is nothing wrong with that, but it is not much of a project.
A take apart dinosaur set works differently because the toy is not finished when it arrives. The child has to make it. That one change turns a bag of plastic parts into something closer to a job, and kids take jobs seriously. They want to see it done. Then, almost always, they want to undo it and do it again.
Parents usually buy one of these sets for a specific reason. The child has gone through a dinosaur phase and nothing else holds up. Or they are the sort of kid who already unscrews the back of the remote control, and you would rather give them something designed to come apart. Either way, this category exists because kids like building more than they like being handed a finished thing.
How a take apart dinosaur set actually works
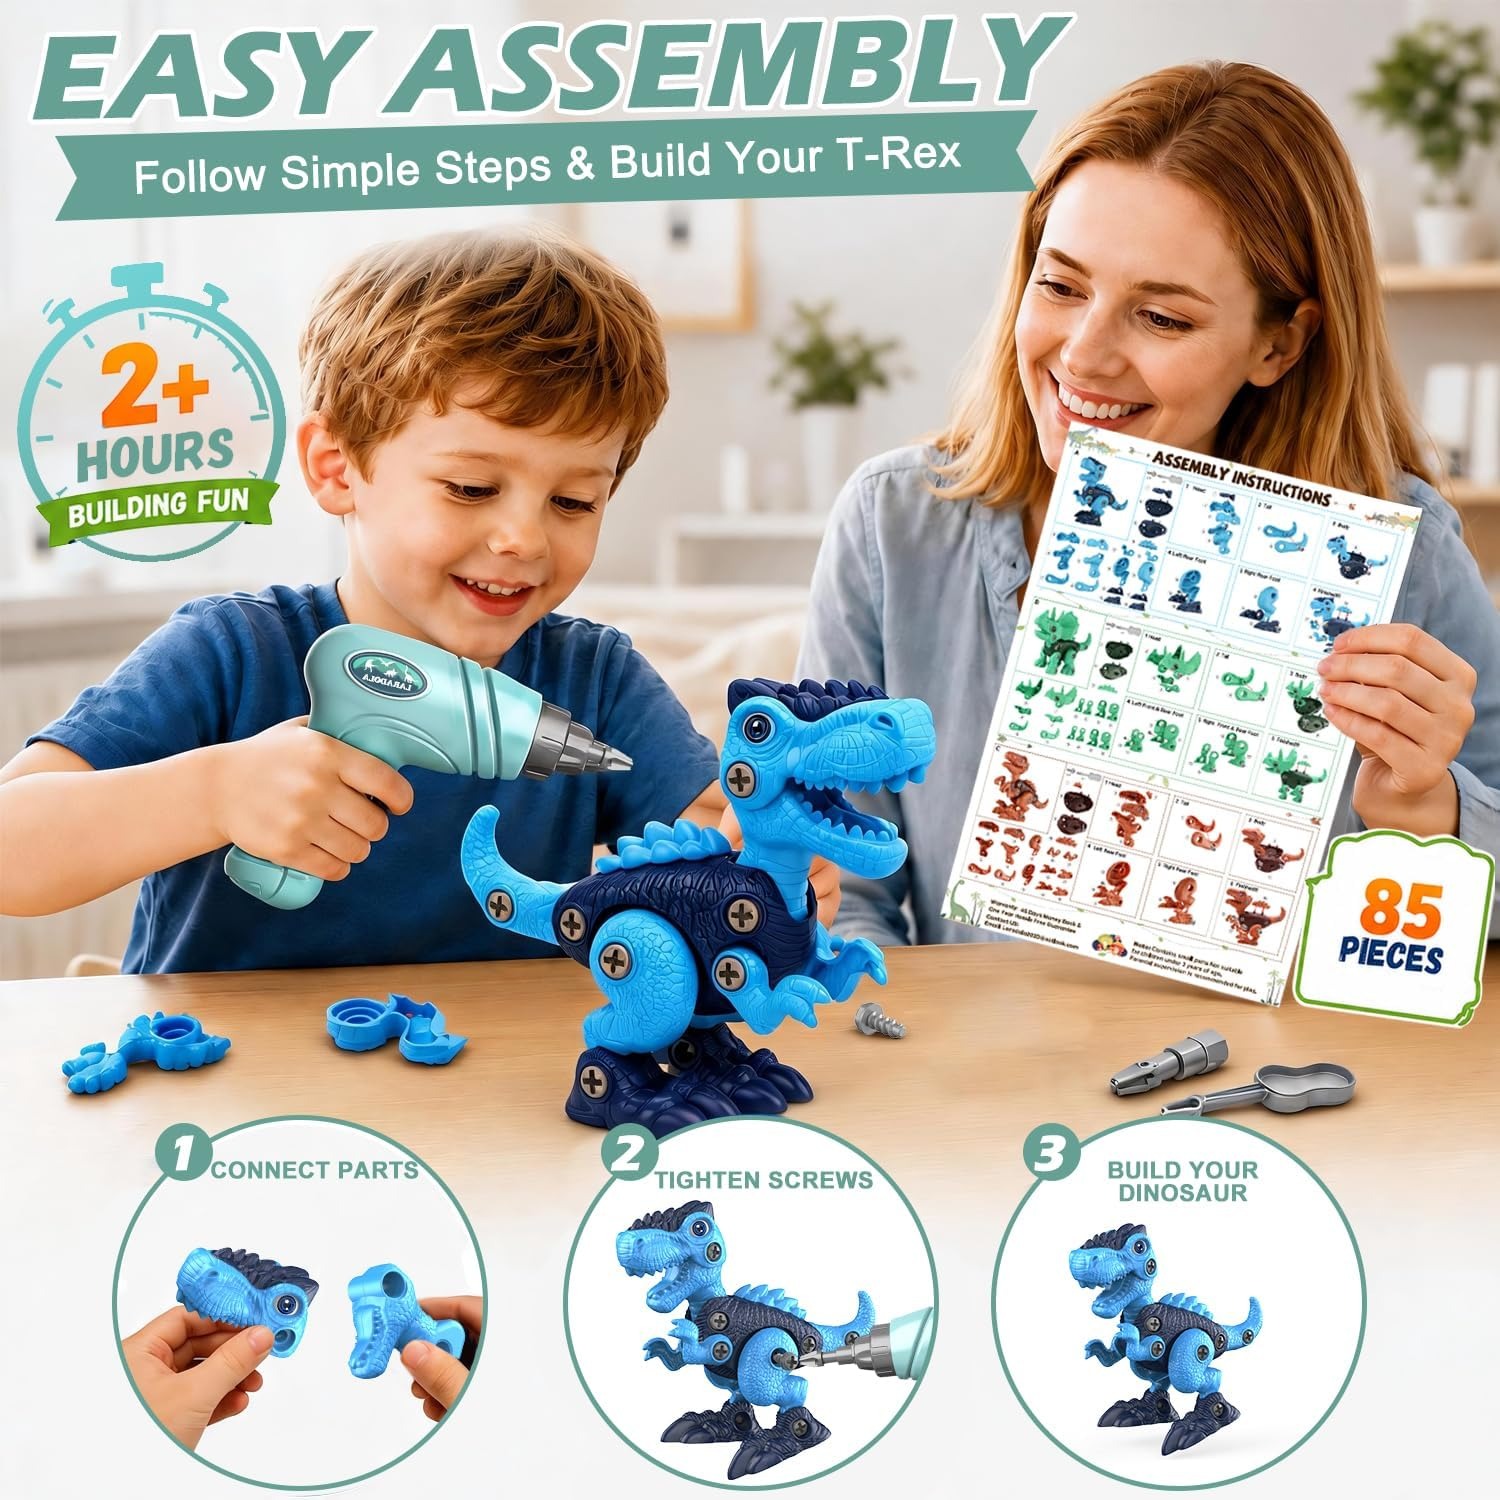
The idea is simple. Each dinosaur arrives as separate body sections with holes that line up, plus screws that hold them together. The child matches the parts to the pictures in the instructions, lines up the holes and drives the screws in.
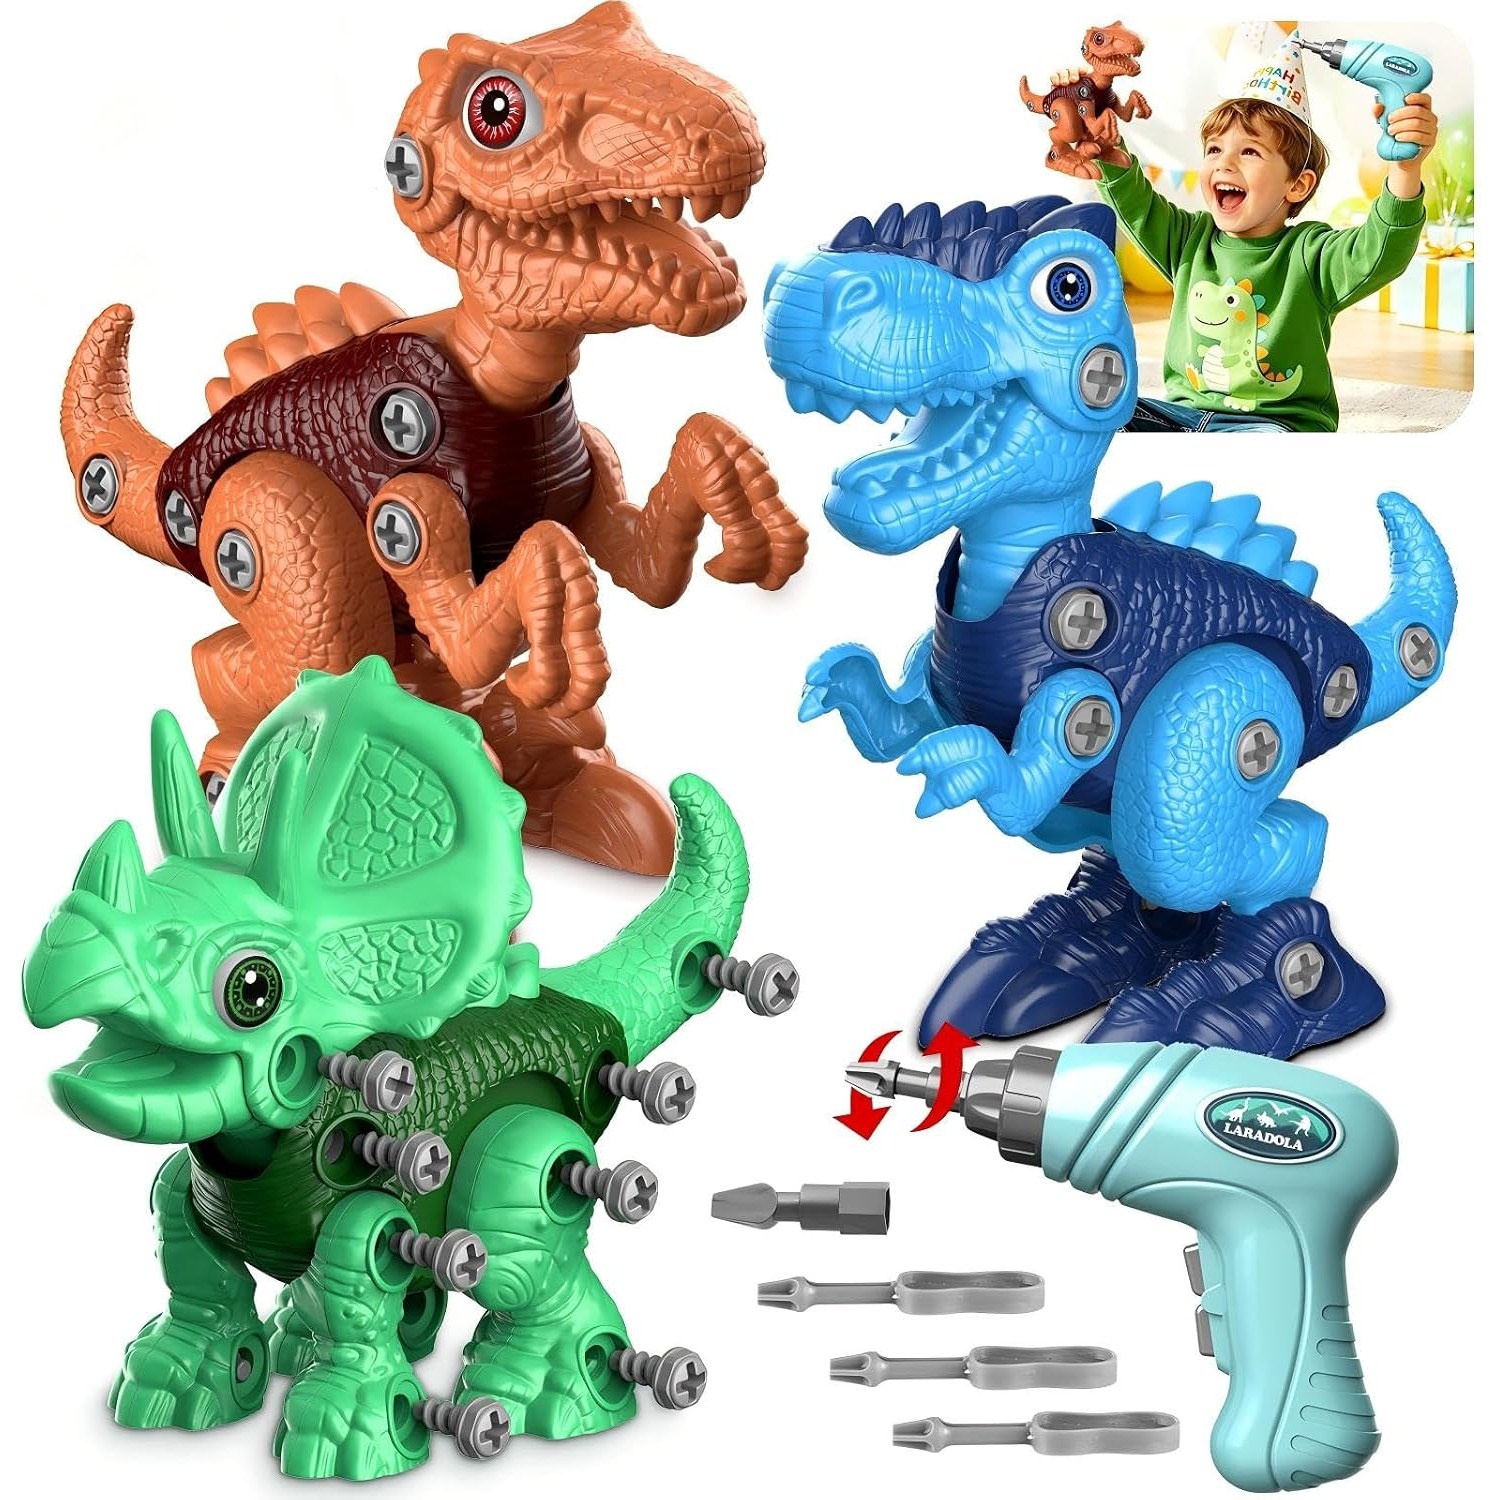
This kit comes with three dinosaur models, so there is enough variety to keep going without any single build taking all afternoon. Alongside them sit the tools, which is the part most kids go for first. There is a battery-powered electric drill with two bits, plus three hand screwdrivers.
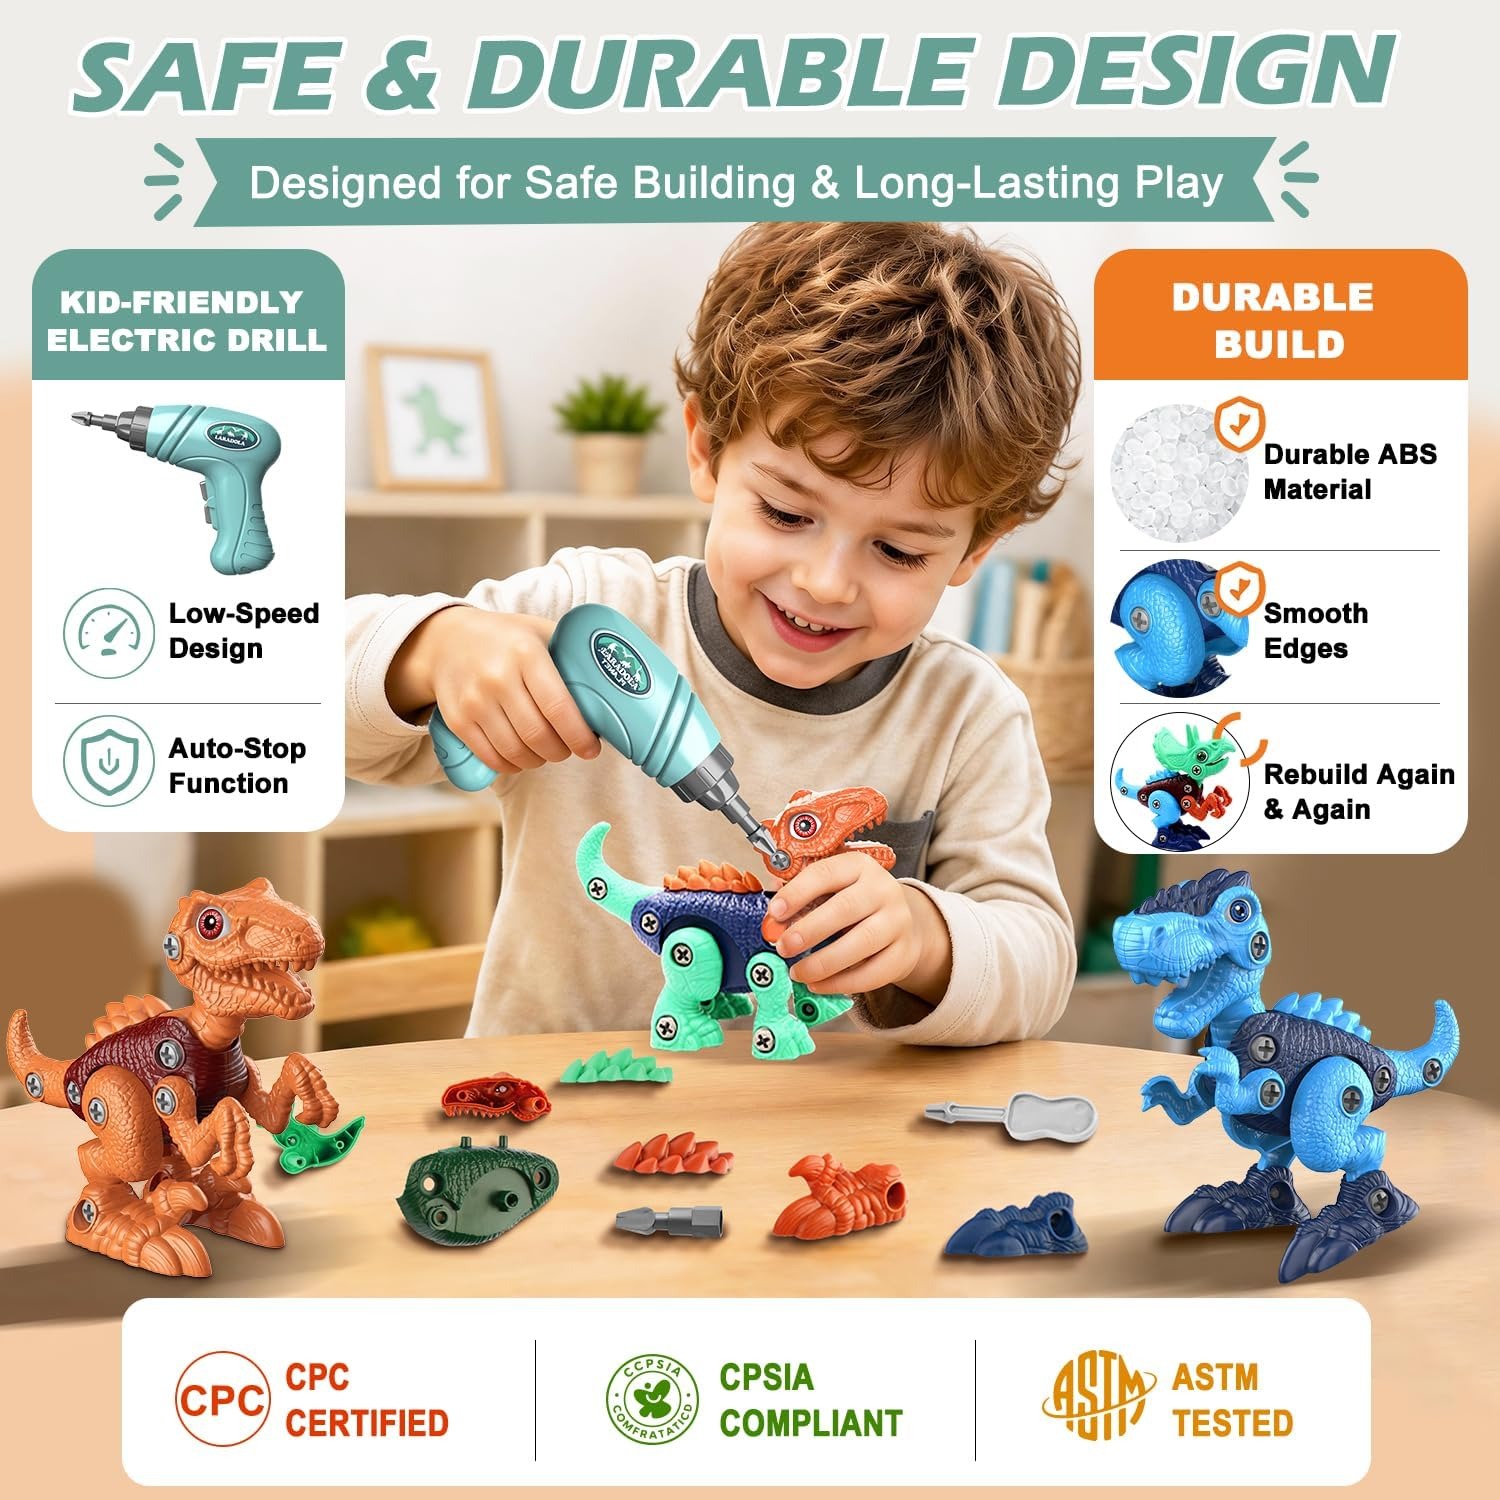
The drill is the headline feature. It turns at low speed and runs both ways, so the same tool tightens screws and backs them out again. Low speed matters more than it sounds. A fast spin makes it hard for small hands to keep the bit in the screw head, and kids get frustrated. A slow one lets them watch what is happening.
The three hand screwdrivers are not filler. They let a second or third child join in, and some younger builders simply prefer the control of doing it by hand. If you have two kids and one drill, the hand tools are what stops the argument.
Assembly is listed as required, which is exactly what you want here. Nothing comes pre-built. The box is the starting point, not the finish line.
Who it suits
The recommended age is 3 and up, with 3 to 8 given as the range where it lands best. That is a wide band, and the experience changes across it.
At three or four, this is a shared activity. The child can hold the drill, push the parts together and feel like they did it, but an adult needs to be there to line things up and stop a screw going in crooked. That is not a flaw. Plenty of parents buy these sets specifically because they want something to do with their kid at the table.
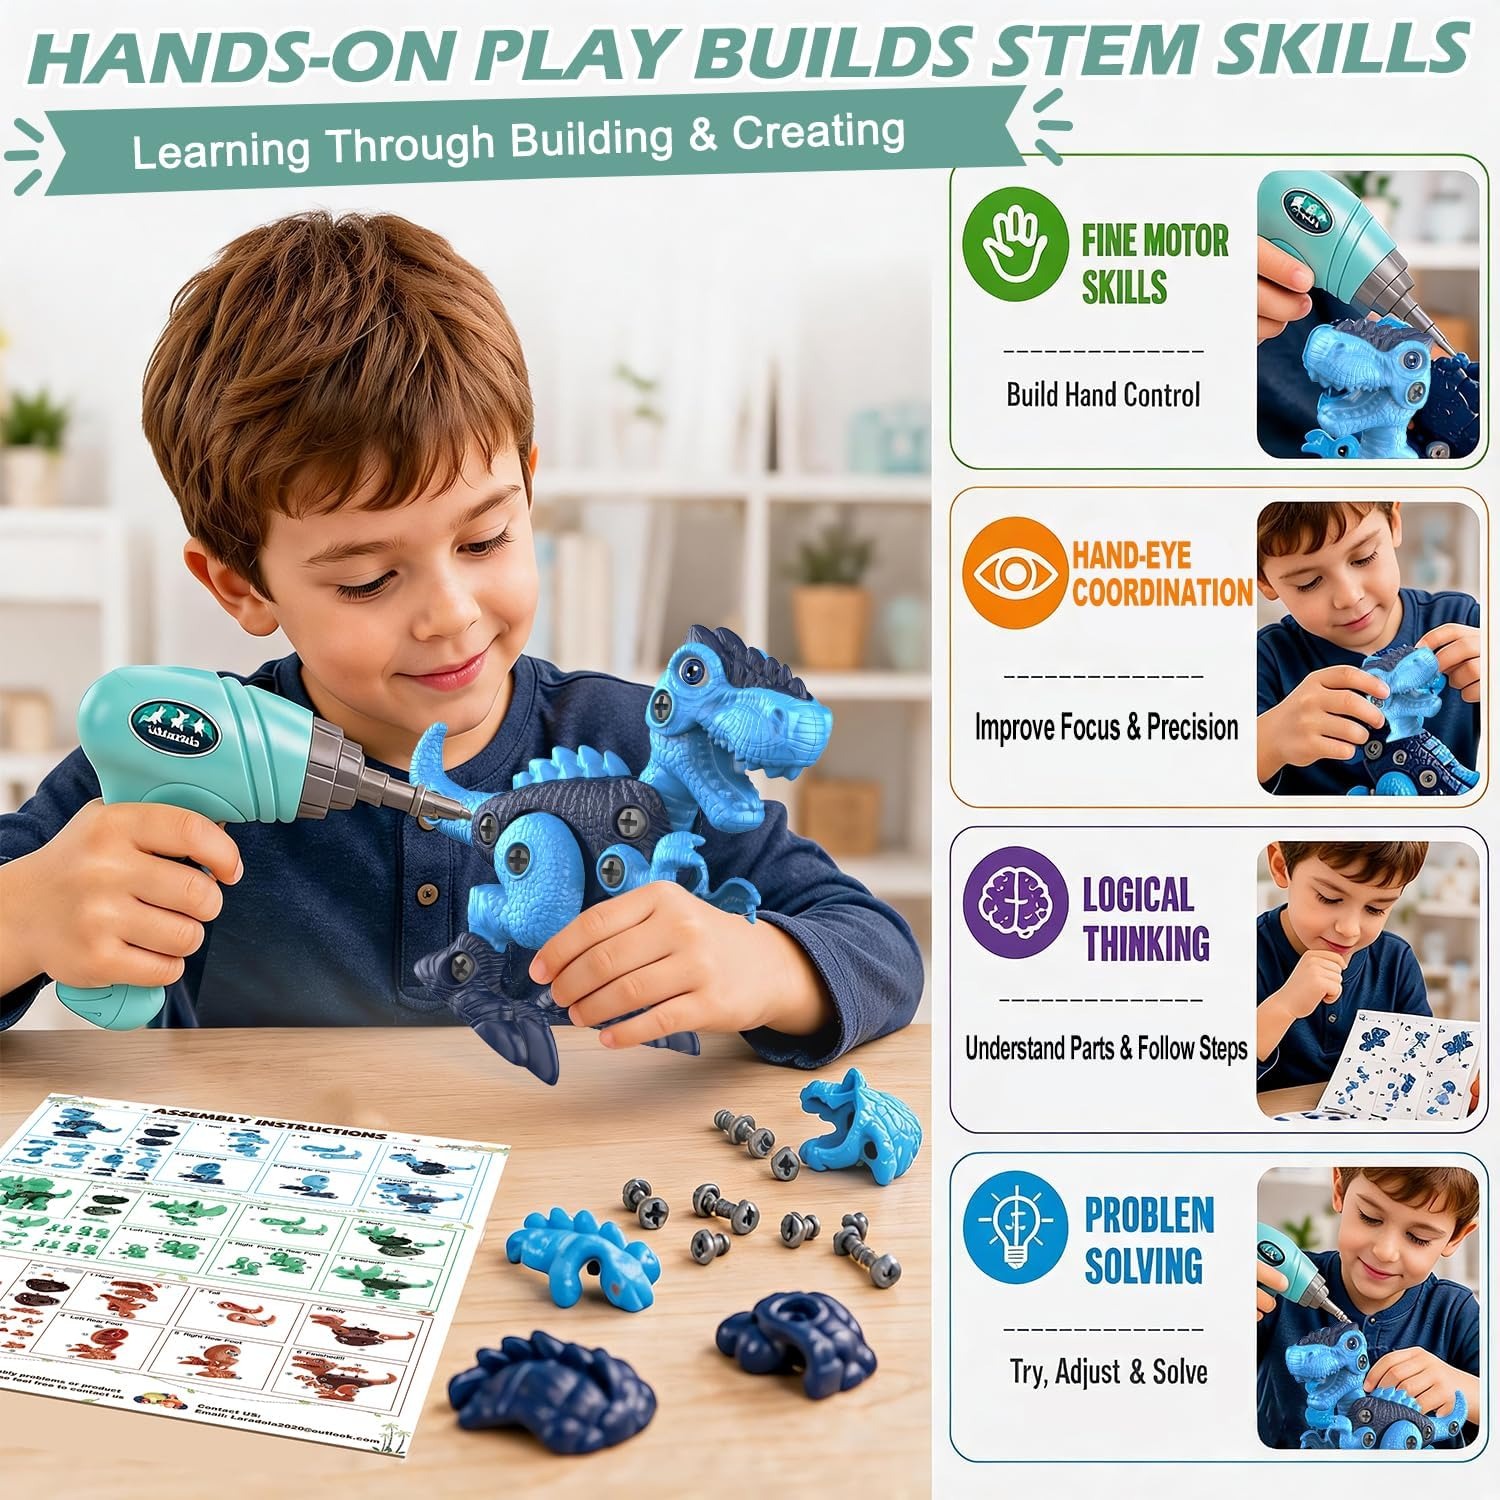
At five and six, things shift. Most children at that age can follow a picture sequence and manage the tool themselves. They will still ask for help with a stubborn screw. This is probably the sweet spot.
At seven and eight, they will build all three quickly and then start inventing their own variations, swapping parts between dinosaurs or racing each other. That is fine. The toy survives it.
It is also worth saying this suits kids who need a clear beginning and end to an activity. Open-ended play is wonderful, but some children freeze when handed a tub of blocks and no instructions. A numbered sequence with a dinosaur at the end is easier to start.
What to look for when choosing
If you are comparing a few options, a handful of things actually matter.
Tool quality. The drill is what sells these kits and it is also what fails first in the cheap ones. Look for low speed and two-way rotation, which this set has. Avoid anything that spins fast enough to chew up a screw head.
Plastic. This set uses ABS, which is the standard for hard-wearing building toys. It takes a drop off a table and keeps its shape, and the moulded edges are smoothed so kids are not gripping sharp corners. Softer, thinner plastics crack at the screw holes after a few rebuilds.
Number of builds. Three dinosaurs is a good balance. One is thin value. Six or eight starts to feel like homework for a five year old, and the parts get mixed up.
Instructions. They need to be mostly visual. A child who cannot read well yet should still be able to work out which piece is next. Clear step-by-step pictures are the difference between a kid finishing and a kid walking off.
Batteries. Check what the drill takes and whether they are in the box. This one uses AAA batteries, and they are not included. If it is a birthday present, buy a pack at the same time. Nothing deflates a gift faster than a tool that will not turn.
Getting the most out of it
A few practical habits make these sets last.
Set up on a table or a tray rather than deep carpet. Screws roll, and finding one in a rug is a miserable way to end a build. A shallow bowl for loose screws solves most of it.
Show the child how to start a screw by hand for the first turn, then switch to the drill. Starting straight is the single thing that keeps the plastic threads in good condition over dozens of rebuilds.
Keep everything in the original box between sessions. The box is sized for the contents and it stops parts scattering across a toy chest. If the box gives out, a lidded container works just as well.
Pull the batteries out if the set is going into a cupboard for a few months. It takes ten seconds and it avoids a leaked battery wrecking the drill contacts.
Cleaning is easy. A dry cloth or a lightly damp one, then let the parts dry fully before packing away. Do not soak anything, and keep the drill well away from water.
As a gift
This is a straightforward present. It arrives in one pack, it needs no setup from the buyer, and the age range covers most of primary school. It is quiet enough for a flat, it works indoors in bad weather, and it gives a child something to do with their hands instead of a screen.
The one thing to check before buying is whether the child already has a similar kit. Take apart toys come in cars, trucks and robots as well as dinosaurs, and a child with three of them already may be done with the format. If dinosaurs are the current obsession, though, this is an easy win.
Care over the long run
These sets get rebuilt a lot, which is the point, so a little maintenance helps. Check the screws every so often and retighten any that have worked loose during play. If a joint feels wobbly, it is usually one screw that has backed out rather than a worn hole.
Store the drill bits with the drill, not loose in the box. They are small and they are the easiest things to lose. Some parents tape a small zip bag inside the box lid for the bits and spare screws.
If the drill starts turning slowly, try fresh batteries before assuming anything is wrong. Weak batteries are by far the most common cause of a tool that seems to have given up.
The short version
A take apart dinosaur set gives a child something to make rather than something to hold. This one includes three dinosaur builds, a low-speed electric drill with two bits, three hand screwdrivers and clear instructions, all in ABS plastic and sized for ages 3 to 8.
It works best for kids who like figuring out how things fit together, and it works especially well for the ones who were going to take something apart anyway. Supply the batteries, give them a table to work on, and most of the rest takes care of itself.